Messenger
Sending and receiving messages
The messenger in Intrexx is first available after it has been activated in the Portal properties under the menu Portal / Portal properties / Options.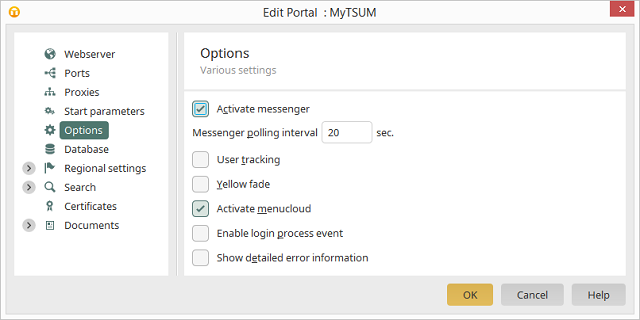
After activating it, the portal must be restarted.
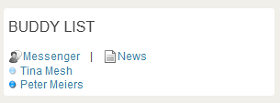
Users require the Messenger portal permission in order to use the messenger. You can reach the messenger through the Buddies portlet in the main portal. The messenger window can also be opened via a view field with the control type User Information. A message to a selected user can be composed by clicking on the
 online status icon. If the selected user is not currently logged onto the portal, the user will be shown as Not active with this
  symbol.
Click on the
online status icon to open the messenger window.
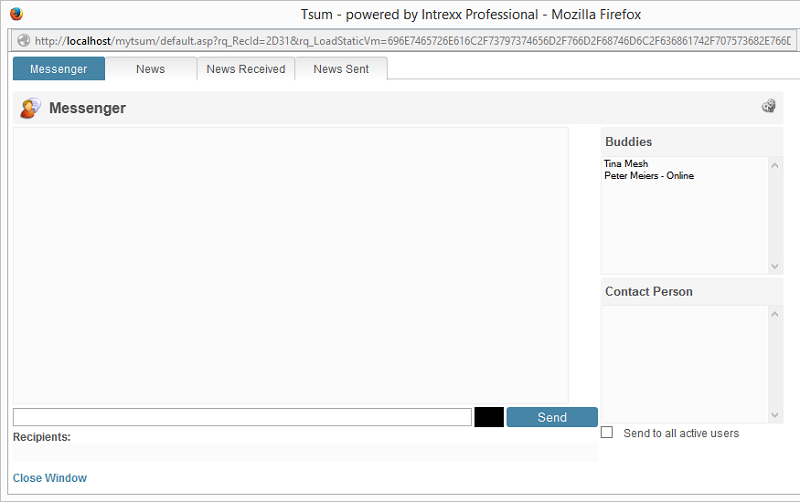
Enter your message text here. If you click on the color field to the right of the edit field, a small palette will open from which you can select a color. This will form the background color of your message. Next, click on Send. The message will be shown for the recipient and the sender in the messenger window.
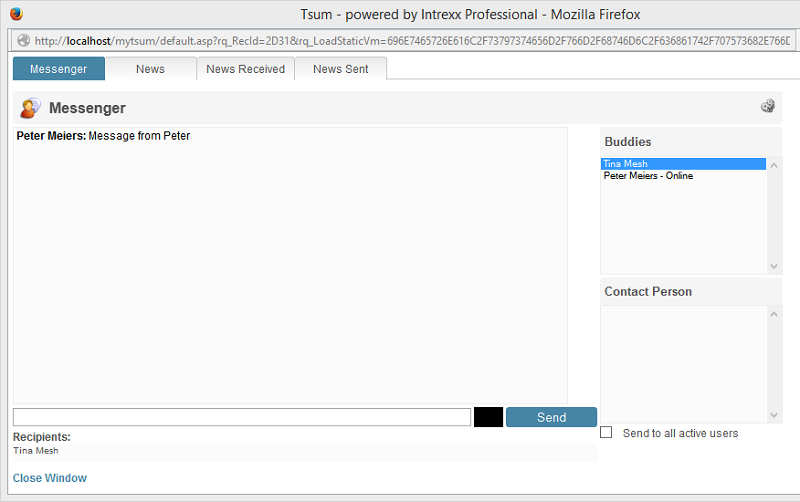
In the Buddies list, all colleagues from the Buddy List portlet will be shown. Select the desired recipient for your message here. In the Contact Person list, all users will be shown that you have sent messages to recently. With the Send to all active users setting, your message will be sent to all users that are currently logged in to the portal. Clicking
 Adjust Settings will open the settings dialog.
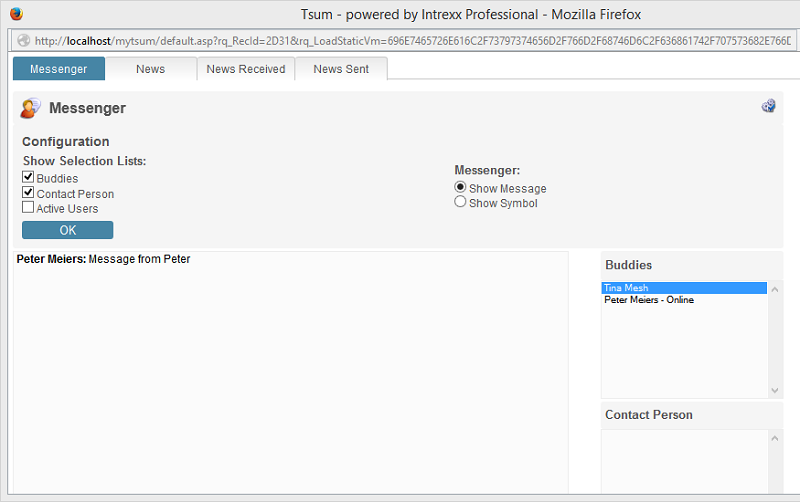
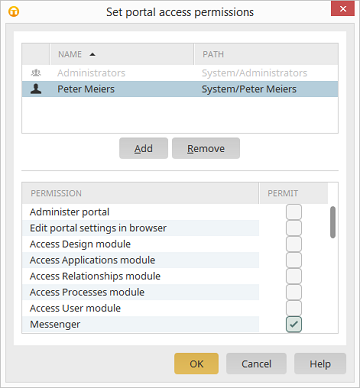
Activating the Buddies setting will show the Buddies drop-down list in the messenger window. The Contact Person setting will show an additional drop-down list, from which the current users in contact with the user will be shown. The Active Users setting will show the Send to all active users checkbox in the messenger window. New messages will be shown in a box in the lower right of the portal if the Show Messages option is selected. With the Show Symbol option, you will be made aware of a new message with a symbol instead. In the menu Extras / Portal permissions, you will define which users may use the messenger to send messages. Regardless of what you choose here, all received messages will be shown. Administrators can send messages to all users that are logged onto the portal, and they will be received by the users.
| Please note that messages will not be saved, and after closing the messenger window, these messages will no longer be available. |
News
On the News tab, news can be composed and sent.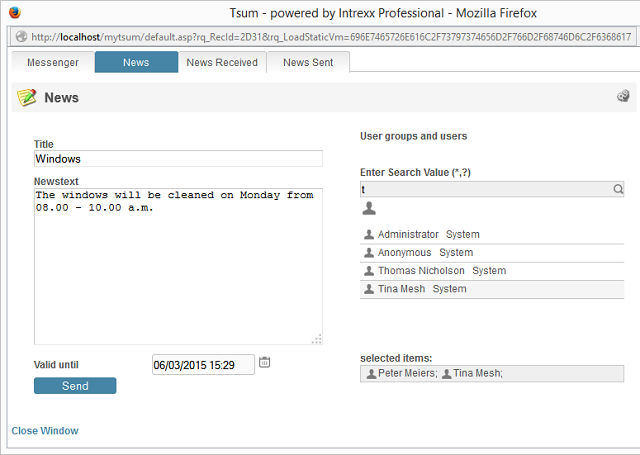
Enter a Title and the News text. In the Valid until field, you will define the length of time the news will be shown in the News portlet. Select one or more recipients from the User groups and Users list. By clicking Send, the news will be sent. The news will be shown for recipients in the messenger window on the Received news tab, and for the sender on the Sent news tab. The messenger window can be opened again at any time via the My Buddies portlet.
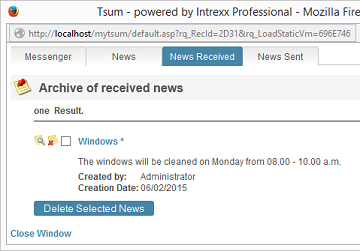
With Delete Selected News, the news will be deleted that the recipient has marked by clicking on their checkbox. With the small calendar, you can show news that were received on the selected date. If you click on
Adjust Settings, the settings options for the distributor will be shown.
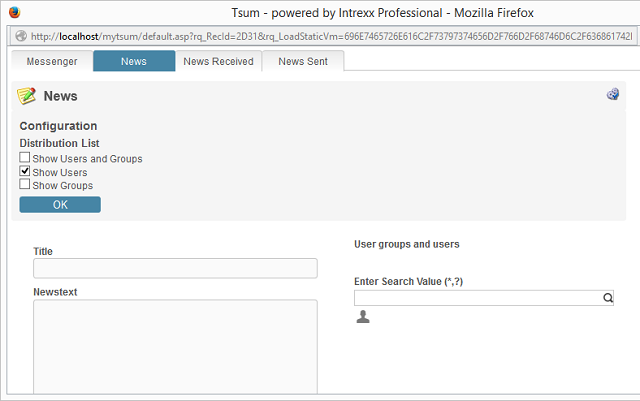
Here you will define whether users, groups, or both will be shown as possible recipients for news.